
We’ve been making morning cappuccinos at home for at least 20 years because for some unknown reason I really don’t like regular coffee. We started out with a cheap espresso machine and upgraded every few years, always with the same results. The cappuccinos started out OK, but sometimes tasted burned. I also spent way too much time cleaning the machine and troubleshooting problems, not to mention what level of yuck was hidden in the parts of the machine I couldn’t reach. All too frequently, I was back shopping for yet another even more expensive machine.
While planning a vacation, I was lamenting about the expense of buying cappuccinos every day and decided to start hunting for a portable option. I landed on the AeroPress, which is basically a french press but better, in my opinion. The great news is that it was less than $40. After our first vacation with this handy little coffee press, I was hooked. The coffee tasted great and there was no bitterness. Plus, cleaning it thoroughly was a breeze. No hidden parts at all! When my last expensive machine stopped working, I didn’t bother replacing it and went exclusively with the AeroPress for our daily coffees.
Here’s what else we learned along the way to make a great cappuccino…
Buy quality whole beans
Our next adventure was sourcing an organic whole bean from a quality coffee roaster. After trying several, we landed on Amavida Coffee and Trading Company’s Espresso Mandarina. Even though we no longer live in Santa Rosa Beach, Florida, (where Amavida is located) I still order a 5 pound bag of whole beans online every month. The bag is $100, but shipping is free and they regularly offer a 15% discount code. In all the years we’ve been buying Amavida coffee, we’ve only encountered one rival. Unfortunately, it was in Belgium and we haven’t found a way to purchase it. We’re heading back to Belgium soon, so I may give it another go. Regardless of whether we find it or not, we love and highly recommend Amavida coffee.
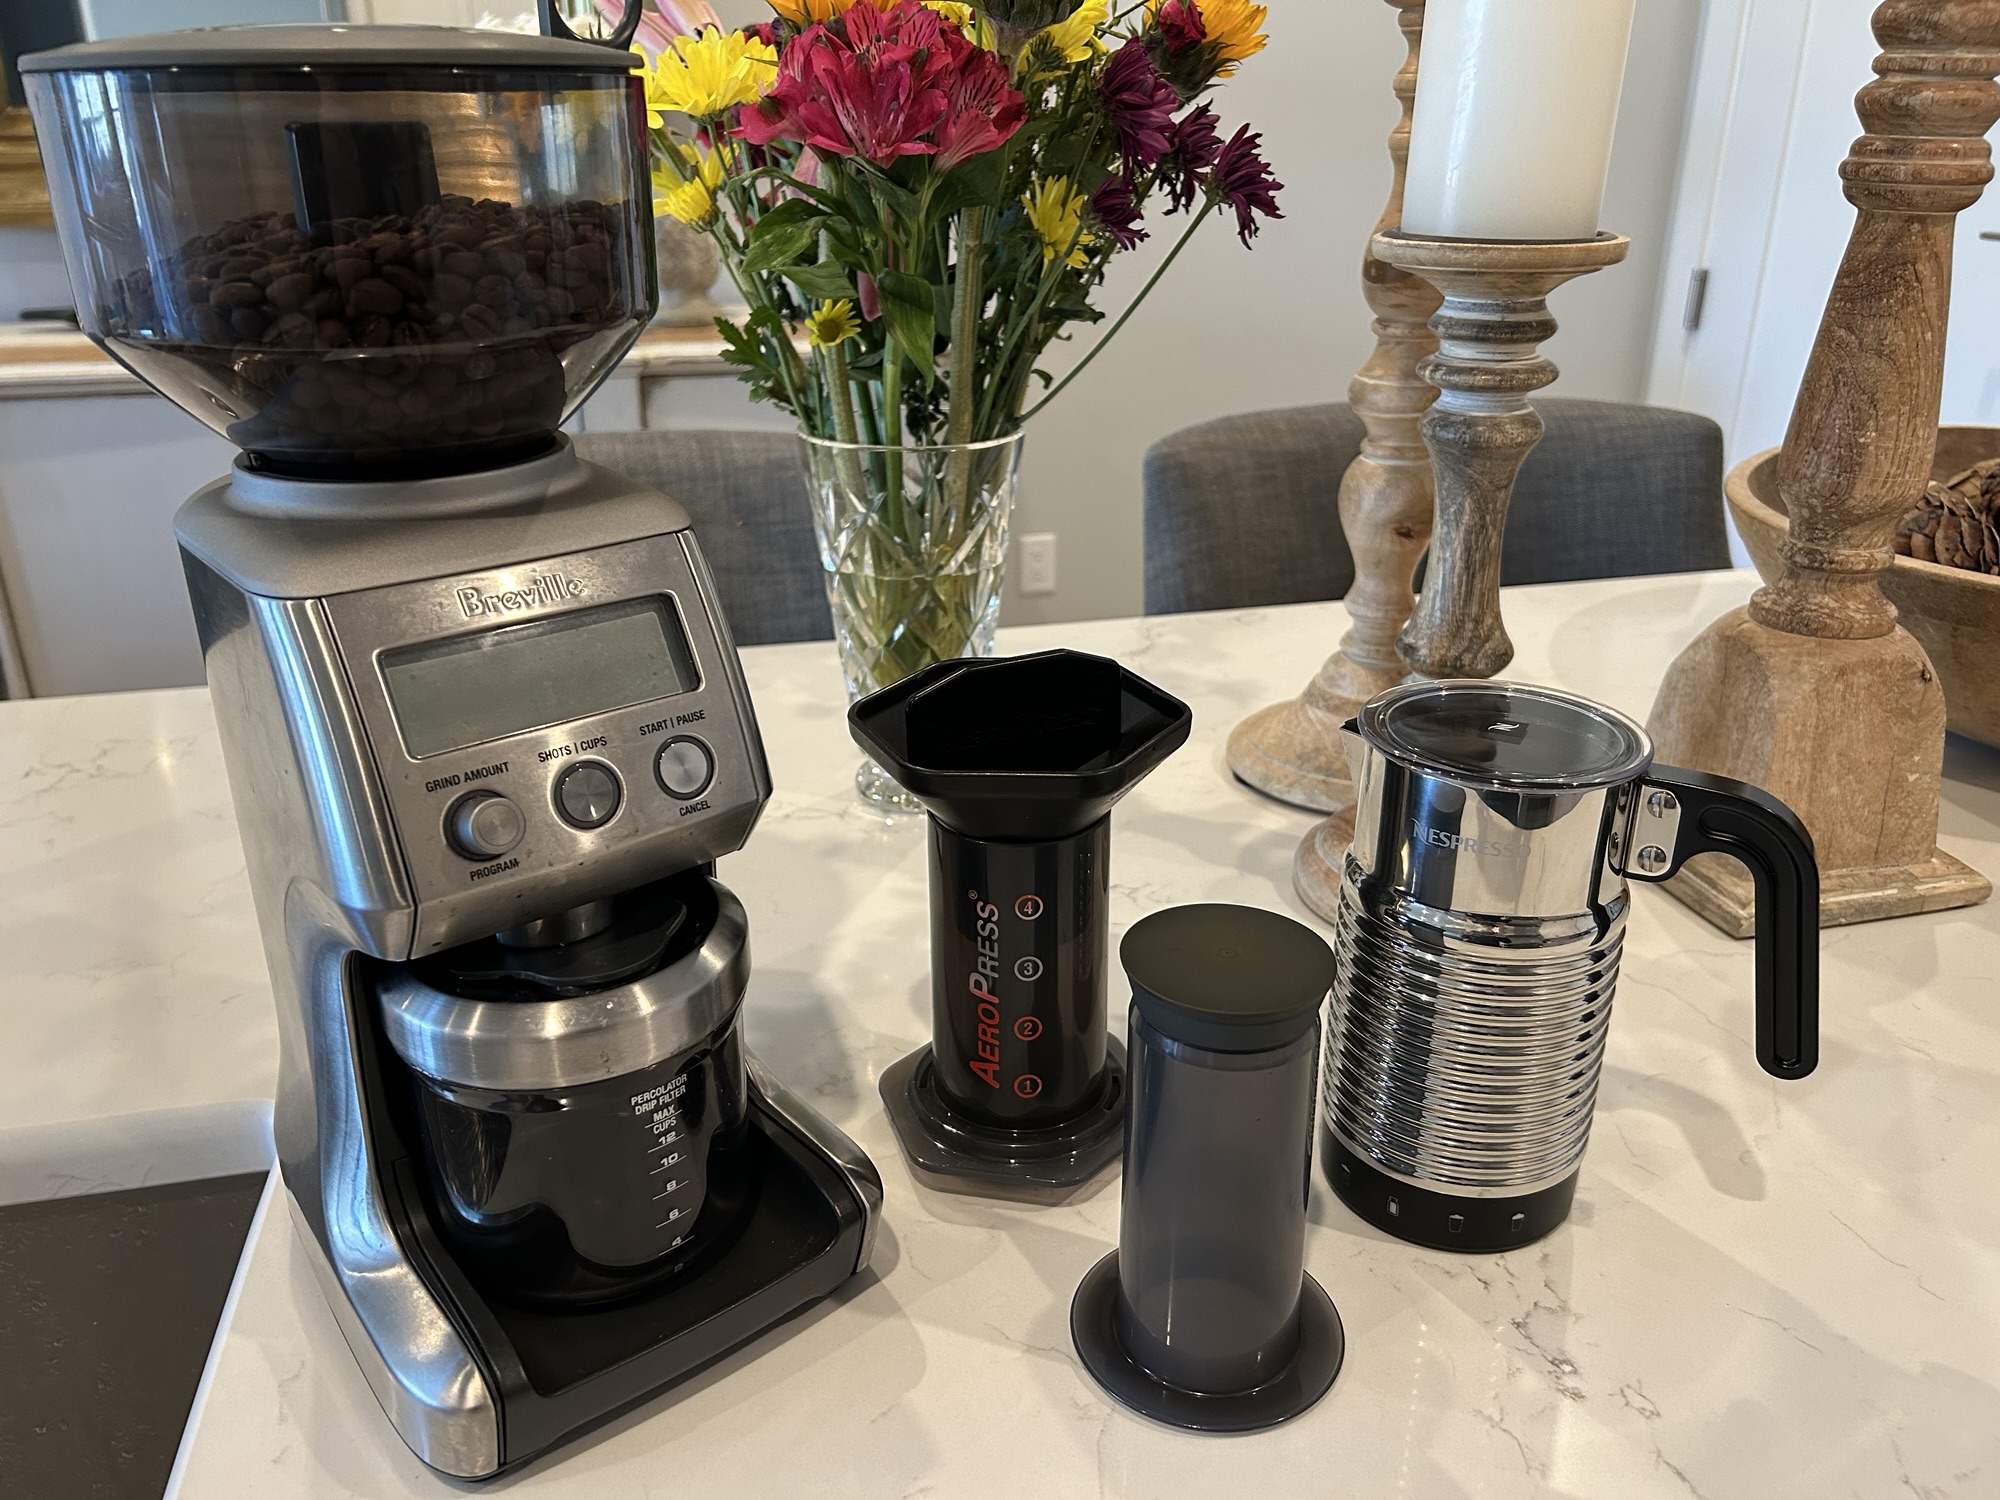
Freshly grind your beans just in time
Grinding your own coffee beans (rather than buying a bag of ground beans) ensures your beans are fresh. Believe me, this makes a difference. Again, after an exhaustive online search, we chose a Breville Smart Grinder Pro Conical Burr Grinder. You don’t have to buy this exact model, but it’s important to find a high quality burr grinder rather than a blade grinder. Burr grinders provide a much more consistent grind. Using the grinder is easy. You select your grind setting and number of shots and you are good to go. Ours is programmed, so you literally just press a button and in less than a minute you have perfectly ground beans for your AeroPress.
A rich and creamy froth is key
For the longest time, we heated our milk in the microwave and used an inexpensive frother wand. We went through a lot of these over the years and they have two disadvantages, 1) when you install new batteries, the frother is almost uncontrollable, and 2) they don’t produce a creamy froth. It’s more of a bubbly foam. For these reasons, we switched to the Nespresso Aeroccino4 Milk Frother. The Aeroccino produces a creamy and velvety foam. There is also a less expensive version available, but we liked the handle on the Aeroccino4.
Note: The AeroPress uses a small round paper filter that you can find online. There is also a reusable metal filter available, but we like the paper option.
If you’re wondering why i haven’t included preparation details it’s because cappuccino size, milk to coffee ratio, and espresso intensity is a very personal preference that you will quickly figure out on your own. Plus, detailed instructions are included with the AeroPress, burr grinder, and frother. If you have any trouble, you can also find several helpful videos on Youtube.
Best,
Lisa